Motion sensors; the simplest kind of automation, and the most useful. Especially during night,
when you're finding your way to the smallest room in the house. I could not find
a sensor I liked however, and also did not want to spend a lot of money on something ugly.
A friend of mine built just this, with the exception of using glue to stick it together.
I designed and 3D printed a slightly more complicated contraption, which can be pushed to
bring the room light up from night setting to full brightness.
After having the rainwater tank installed and connected to the roof,
there was still quite some plumbing missing. The filter and calmed inlet
add up to hundreds of euros. In my case the way the tubes were
connected to the tank made off the shelve filters unusable, so I opted
to DIY everything.
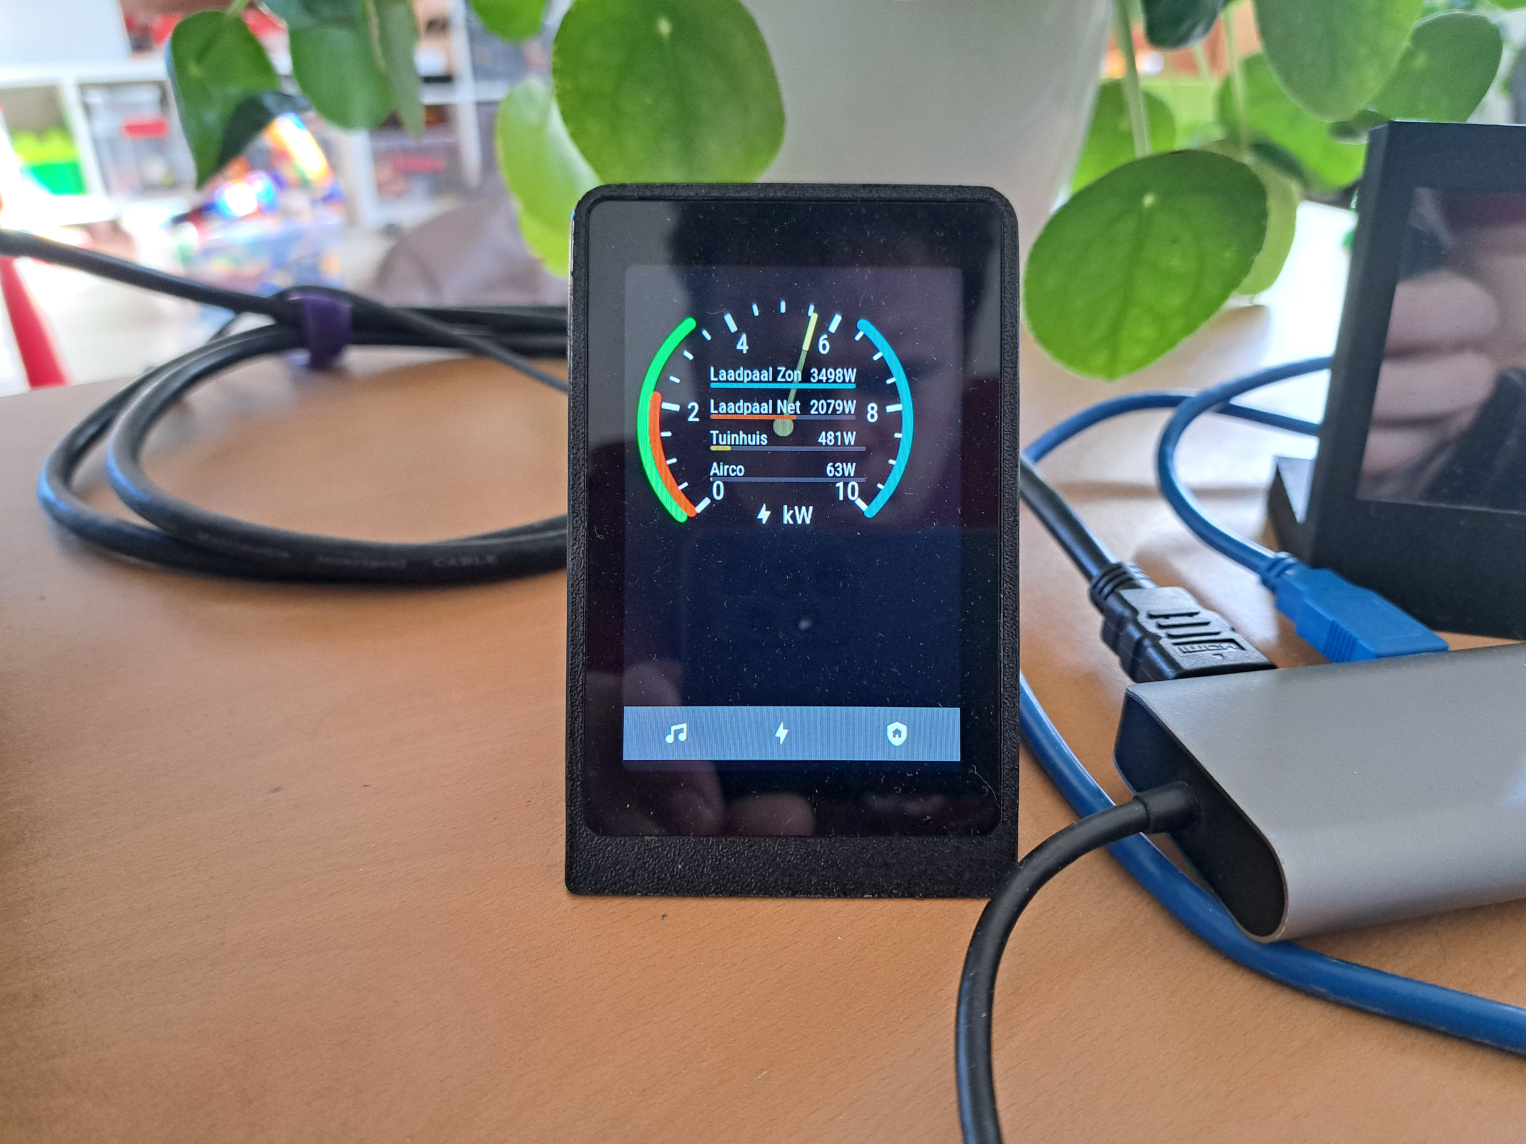
I discovered openHASP while I was searching for projects
integrating touch interfaces with Home Assistant.
It's easy to wire up a cheap ESP microcontroller board and TFT display module,
and by loading this opensource firmware you can turn it into a network
connected touch control panel and control devices and display things.
While designing a screw-drive based RC tank (perhaps more on that later), I wanted to create a large easily customisable support structure out of a minimal amount of plastic.
I started prototyping an interlocking structure in the shape of a octothorpe (#).
This turned out to be a lot of ugly code, and so I got sucked into rabit hole of optimising my openscad model and found a cleaner solution.
I have used an Ergotron standing desk for 5 years, then it broke, right out of
warranty. Several years ago I started building a sensor device to track how
much time I spend standing up versus sitting down in my chair. The hardware
prototype finished, it got shelved since I found other fun things to do with my
limited hobby-time.
Later I noticed that I was sitting down 99% of the time when working from home.
To revive my healthy habit of working upright part of the time, I decided to
pick up my parked project by re-printing the enclosure I made on my own printer
and leveraging the power of esphome on and home assistant to finish the project
after all.
I already had a limited set of PETG spools in nice colors and was interested in
some cheaper spools for prototyping purposes. The price was 'cheap' indeed,
read along to see how this manufacturer's quality turned out to be...
I have a technical wall with several pieces of electronics mounted onto it.
It started to look a bit disorganized, with all these things mounted
at random places on the wooden board and cables running all over the place.
So I wanted to clean it up a bit...
I stumbled upon a DIN-rail mount on Thingiverse, and remembered I had a piece of
DIN rail in a box. Time to remix a bit and mount everything on DIN rail!
At home and at work, I always tend to have around 5 small development boards on my desk.
In a fixed setup with identical boards, metal or plastic standoffs can be a nice solution
to build a stack that reduces the footprint on desk and avoid a spiderweb of cables.
In reality, the boards are of different sizes, and standoffs still cost a few euro's each.
I knew I could do better, using a 3D printer and some parametric CAD modeling.
During COVID19 lockdown, the kids were running around the living room a lot
more, and a lot more reckless. Our TV console is covered with glass plates.
These have chamfered corners (45 degree cut off), but still it's a hard, glass
corner, and I could imagine painful or catastrophic injuries and trips to the
ER.
I decided to create a quick and dirty cover that, once installed, would provide
safer plastic, rounded corners.
During COVID19 lockdown, I found myself struggling with cheap extension blocks,
in fact I find most extension blocks horrible, and most power supply blocks
can't fit next to each other.
I still had three brand new, wall sockets left over from electricity
renovations (I opted to place earth wire so installed appropriate sockets).
These are Niko brand, the finest EU/BE sockets available, and are lovely
to use in every way possible. I already considered making larger extension
blocks this way.
I designed a simple door handle during COVID-19 lock down. After my kids slammed
the kitchen door against the radiator a few times, I had to glue the existing
handle again and again. I didn't feel like installing a door stop (also, shops
were closed) for this old door that will be replaced at one point in the
coming years. I did feel like modelling a replacement object...
One of the first things I built when I got my 3D printer was a housenumber sign.
I made the writing stand out in contrast by using a filament swap at layer height.