Rainwater Tank Plumbing
After having the rainwater tank installed and connected to the roof, there was still quite some plumbing missing. The filter and calmed inlet add up to hundreds of euros. In my case the way the tubes were connected to the tank made off the shelve filters unusable, so I opted to DIY everything.
General impression
You can ignore the red tube sticking out of the overflow, it's a part I cut off and put there out of the way.
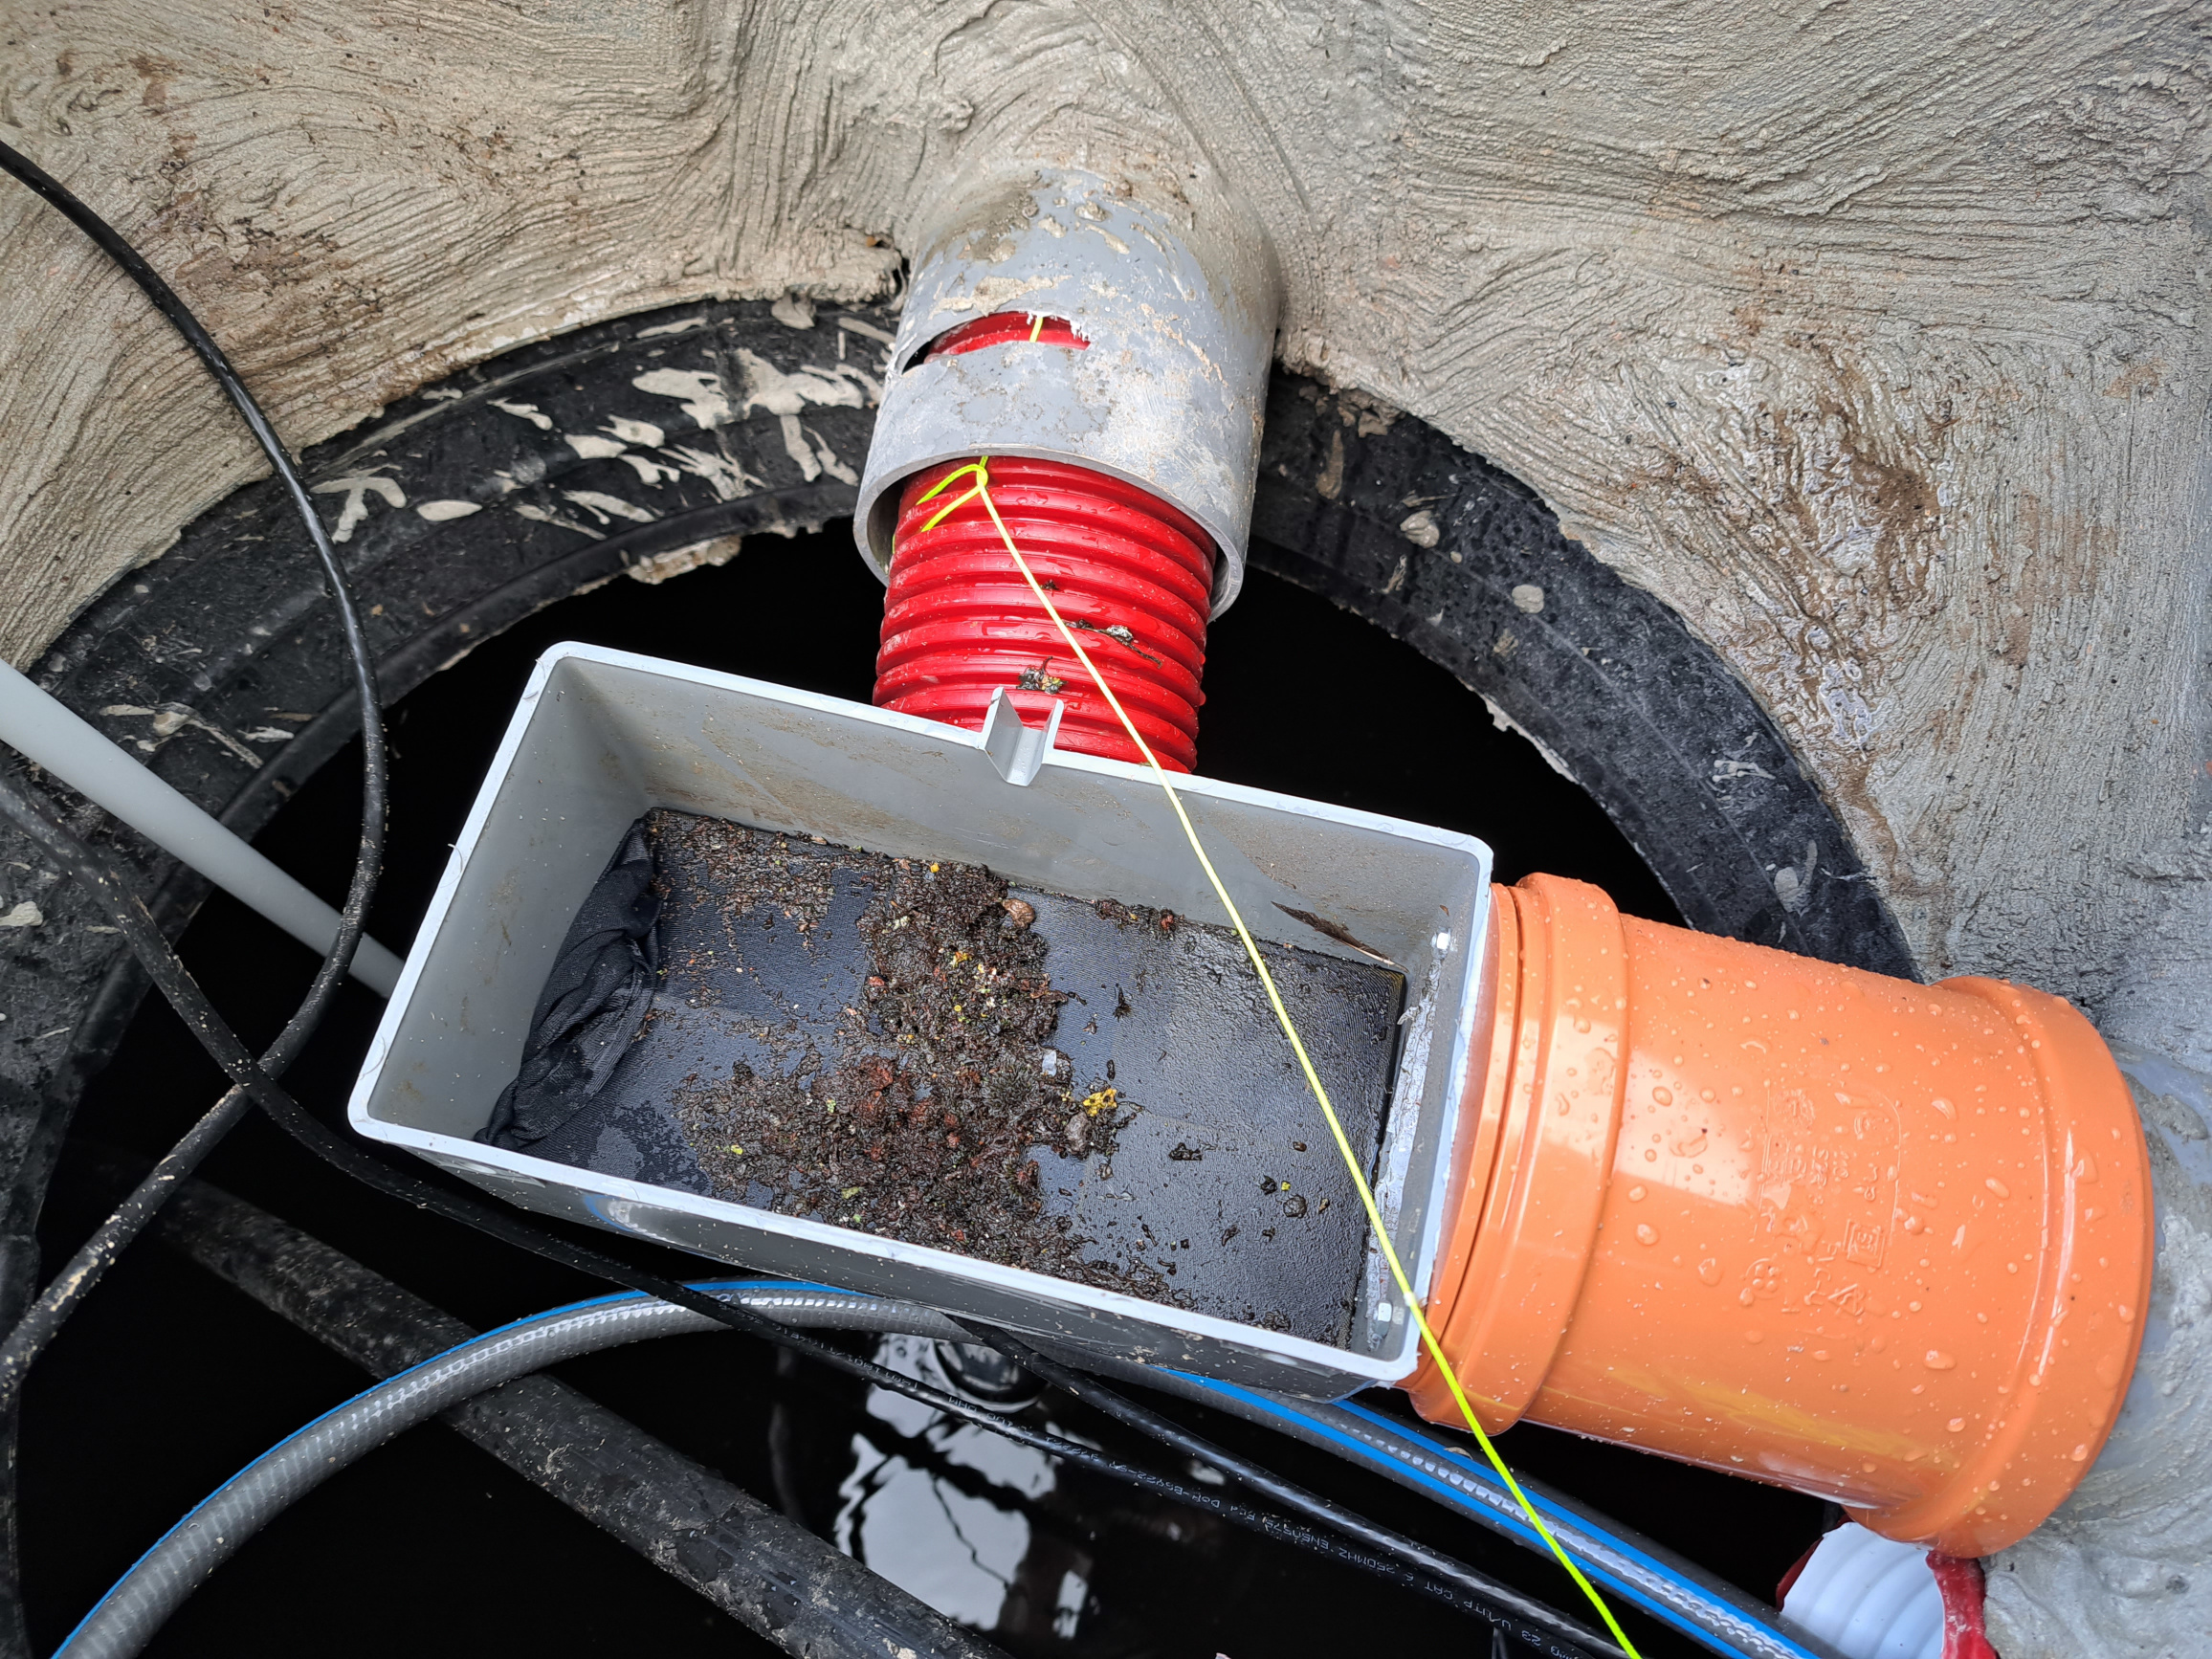
The garden hose to add tapwater to the tank is visible.
dirt and insect filter
Since I don't like long print times and don't mind using the dremel, drill and handsaw, I started from an existing piece of PVC from the hardware store. I used a rainwater pipe collector and attached a 110mm pipe end plug. I used the dremel to create an opening for the water to flow in.
The filter assembly sits on the vertical pipe to the calmed inlet.
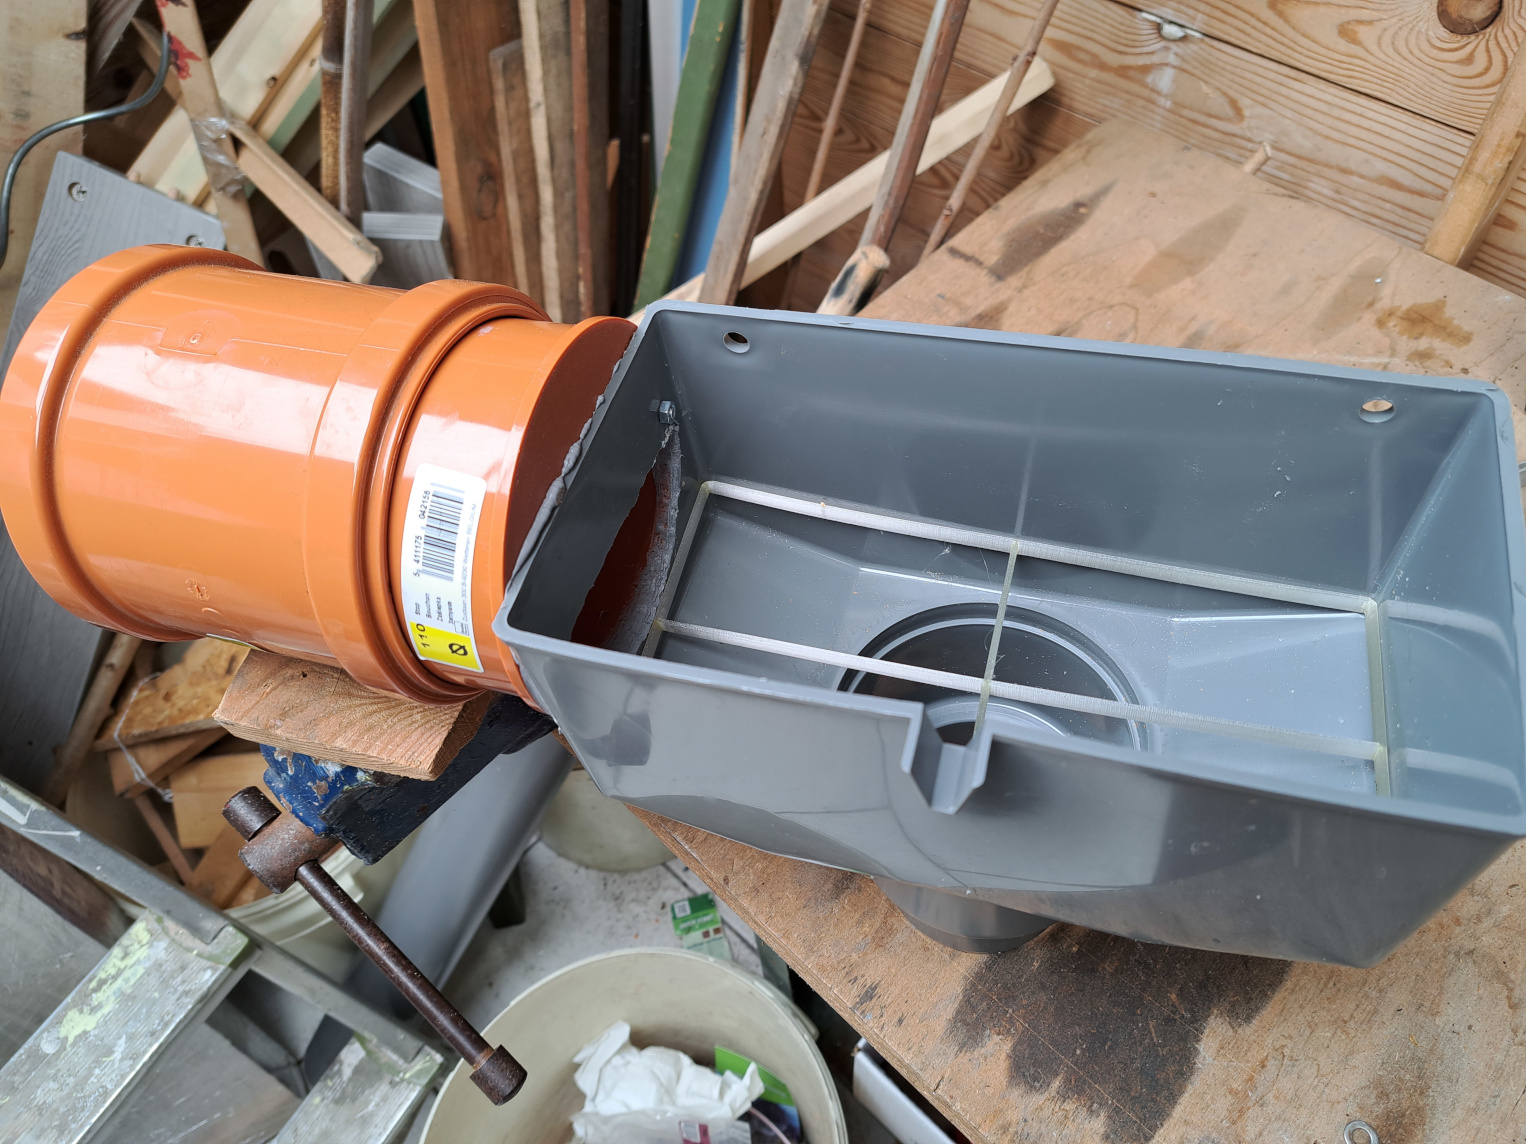
I designed a filter screen to put into the body, wrapped with nylon stocking it filters out dirt from entering the tank together with the water.

Additionally, the top of the filter assembly top should be covered with a filter too to prevent insects from entering the tank.
I also created a 86mm to 80mm pipe adapter.
As for future improvements: ideally the grid would be sloping downwards from the inlet, so dirt would more easily flow away from the inlet.
Filter with increased surface
I noticed the original filter I used gets clogged fairly quickly. To avoid the filter assembly from overflowing during cloudbursts, I wanted to increase the filter surface. Since the surface area is limited, I designed an assembly that folds a longer filter into several terrace levels. This will allow a bit more filtering even if i don't clean the filter quickly enough.
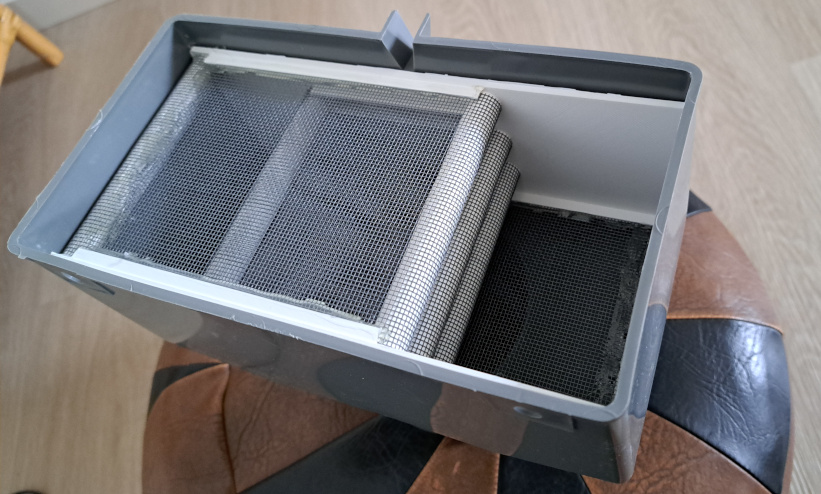
Not shown in these pictures is the inflow, which comes from the right side. An unmodified plastic base is shown during a test-fit.
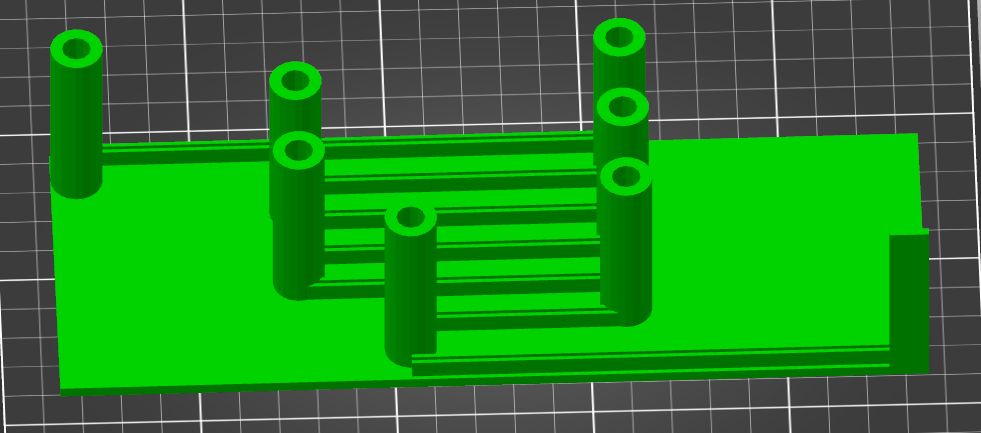
This design is printed twice; one mirrored and one not mirrored. they are fitted together using 3d-printed plugs/cylinders. The filter surface is hot-glued into place.
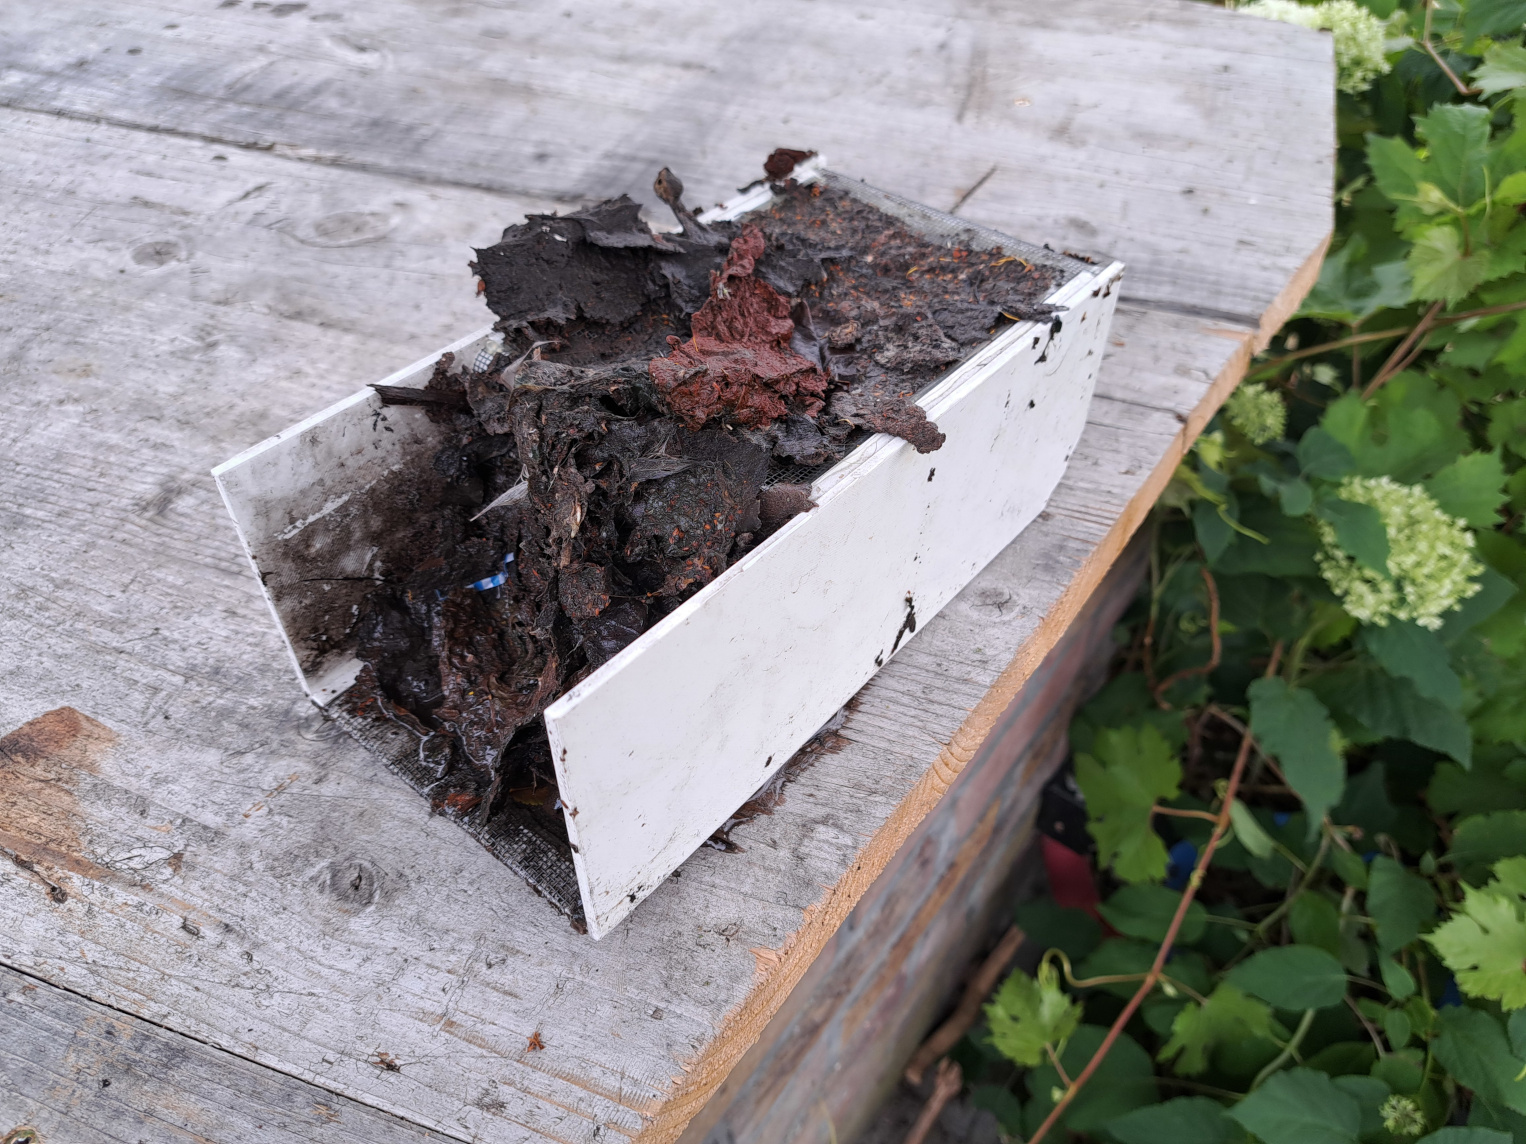
Filter after a heavy thunderstorm shower that flushed all dirt out of the raingutters.
Calmed inlet
The purpose of the calmed inlet is twofold:
- Water should be added at the botom of the tank to distribute oxygen evenly
- The sediment settling at the bottom of the tank should not be disturbed with water currents, so there should be a barrier around the inlet.
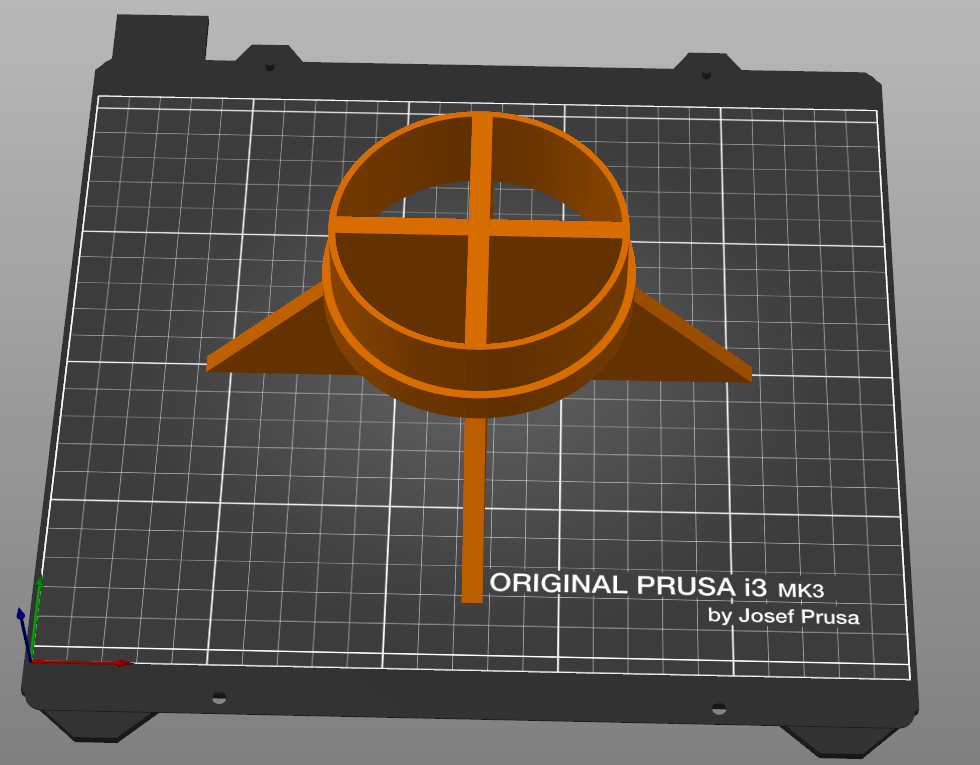
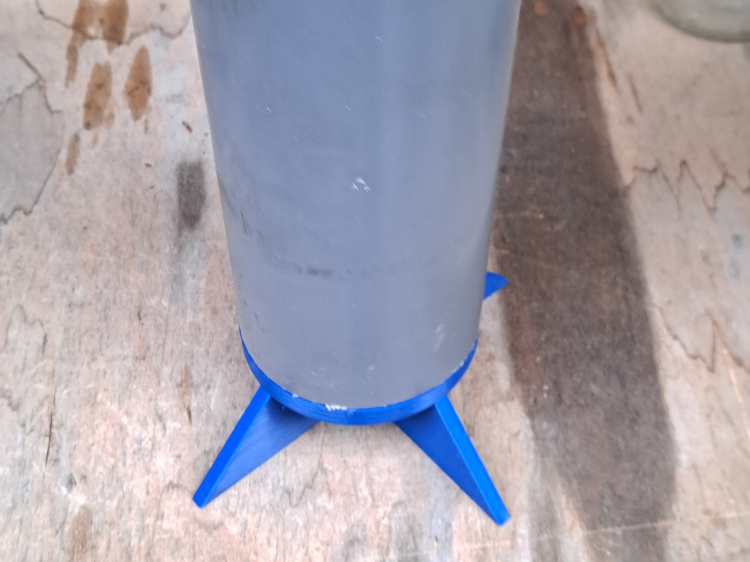
This stand allows the tube to rest on the bottom, standing in a shortened (cut off) bucket.
Pump
I bought a DAB Jetinox 82 with control-d pressure controller. This will be installed in the garden shed and will have to be insulated and made frost-proof.
I'm considering if circulating water back to the tank would suffice to keep the pump up to temperature. I bought a flow sensor with pt100 temperature sensor in the line I can use to sample the temperature of the pump. I will add tracing to be sure.
Distribution filter
I bought a Honeywell honeywell ff60 triplex filter, this is to be installed inside since the pump is low to the floor and it will be easier to service the filter inside.
Room for improvement
I plan to add a float level switch in the filter assembly to signal filter clogs.
My setup is missing a first flush diverter. This would have had to be designed in, it still can if the garden shed roof is ever connected.
Liked something? Worked on something similar? Let me know what you think on Mastodon!
You can use your Mastodon account to reply to this post.