DIY Heatpump drip tray

My drip tray, installed.
An outdoor heatpump unit pulls water from the air since moisture condenses on its cold radiator. In very cold temperatures it forms ice, which is suddenly thawed all at once in a 'defrost cycle'.
Our heatpump outdoor unit was installed over our driveway, and we walk under it on the way to our back door. The installer did not place a capture tray, but I want to avoid water dripping and pooling on the driveway during the heating season so we don't get a slippery ice spot. So I built a capture tray.
Possible solutions
Buy a drip tray accessory from the heatpump manufacturer
Online prices are around 400 euros. Kind of expensive.
Install a plastic rain gutter
The L shape of the exposed radiator together with a hole in the middle would make building an F shape of rain gutter an impractical build, which would be inconvenient to mount under the outdoor unit. Plus, it would look a bit strange, and grey.
Use a plastic box lid
I don't expect to find any box lid really rigid and flat at the same time, since they are mostly injection molded into a rigid shape.
My solution
Requirements
To avoid resonance because of the compressor vibrations, and avoid storm winds making it move will have to be a solid construction.
It should not freeze shut, so water should not pool together, if I mount the tray under angles I won't have that issue.
I chose to build a tray myself and came up with a simple mounting mechanism.
Design
I measured the area I want to cover under the unit and made a simple OpenSCAD design of cylindrical spacers that are cut through with a board positioned under x and y angles.

OpenSCAD render of the construction
The cylindrical spacers will be mounted to the mounting brackets the unit sits on using threaded rods cut to length.
I printed them in PETG on my Prusa 3D printer.
Sheet plastic
I bought a sheet of 5mm thick white PVC foam board of 1m by 0.5m. It cost me 18EUR. This foam board is easily cuttable with a stanley knife and can be glued with pvc glue or superglue.
I was able to cut out all necessary parts out of this single board.
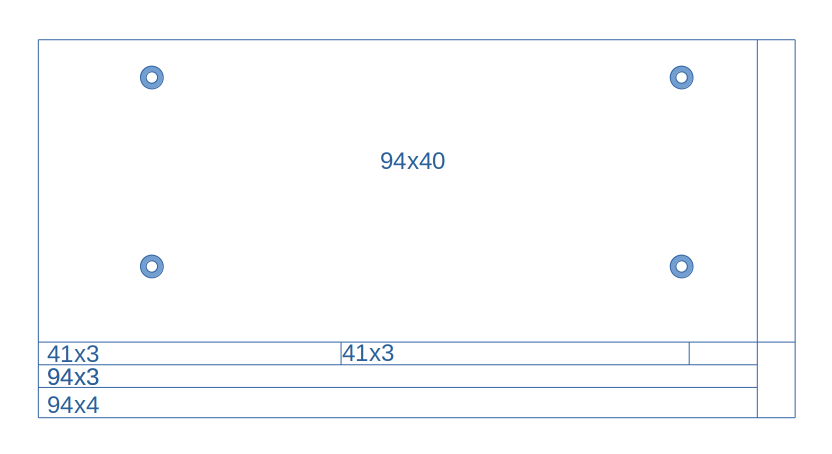
The cutting pattern of the PVC foam board
Mounting
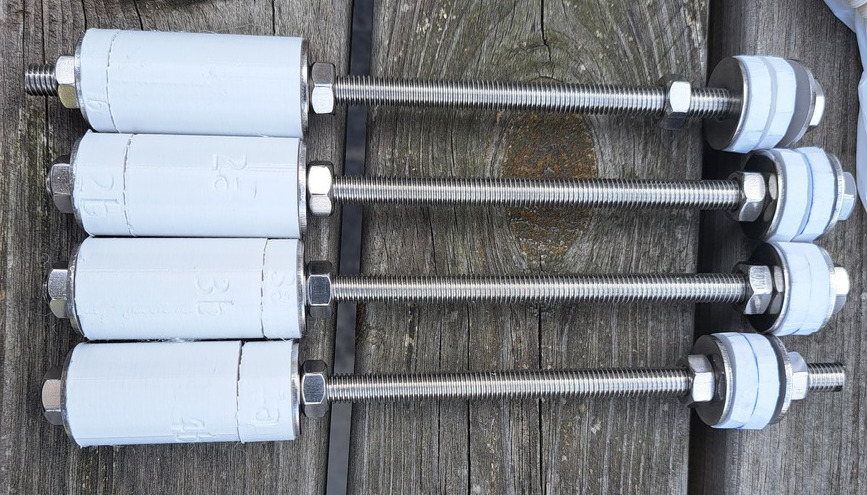
The mounting rods
I bought a 1m piece of 8mm threaded stainless steel rod together with some nuts and washers. I cut it into parts 17cm long.
Assembly process
To glue the parts together, both sides were
- degreased
- rubbed with the pvc glue bottle's glue brush.
- held together using glue clamps and pieces of metal from my shed for half an hour
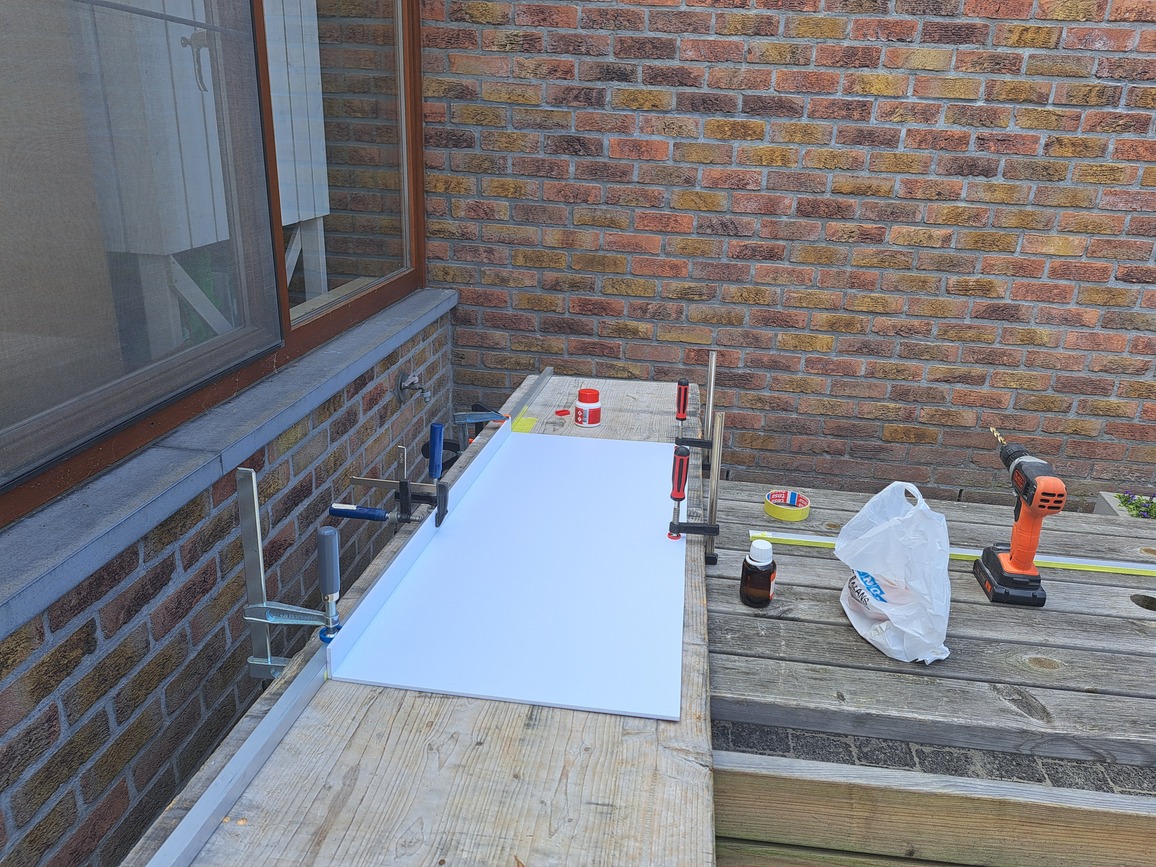
Glueing in progress

The assembly of parts
I cut a rectangular piece of foamboard to reinforce the drain wall. The drain hole was offset by 2mm to the bottom corner so the water would flow out easily.
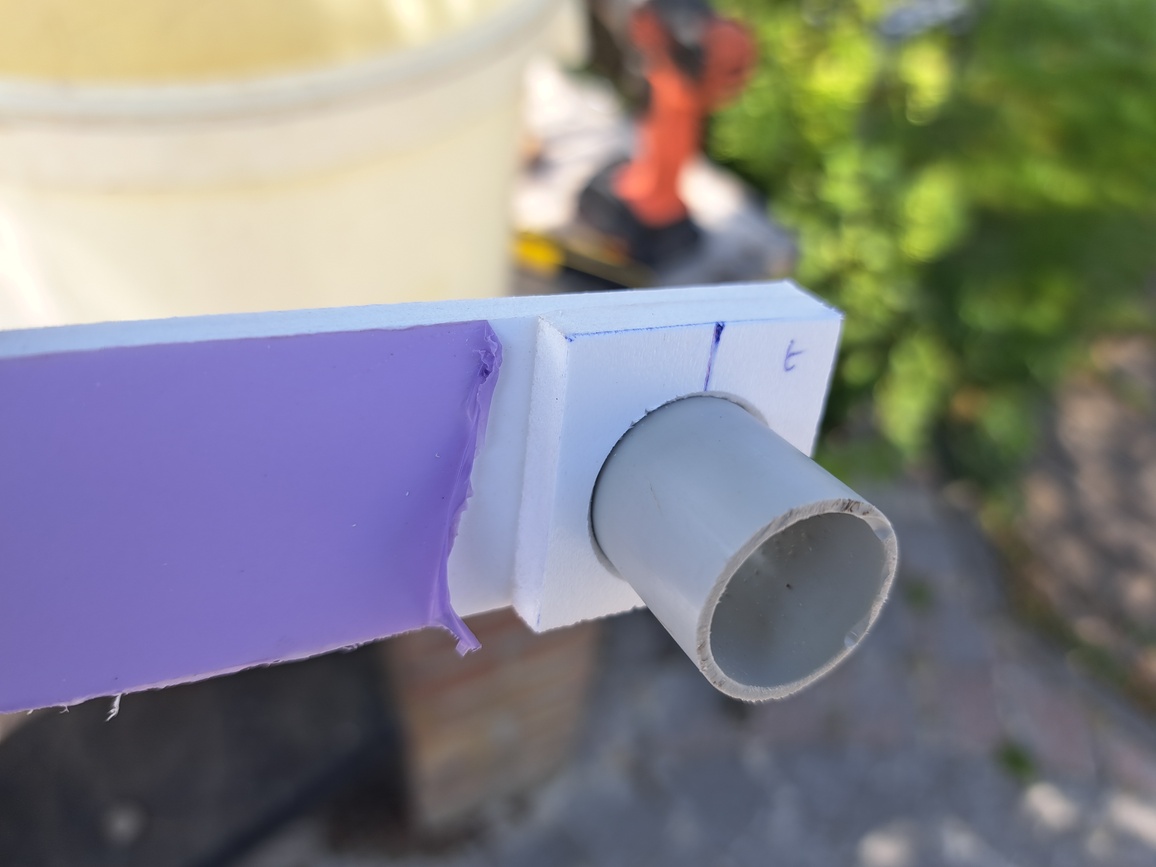
Fitting the runoff pipe
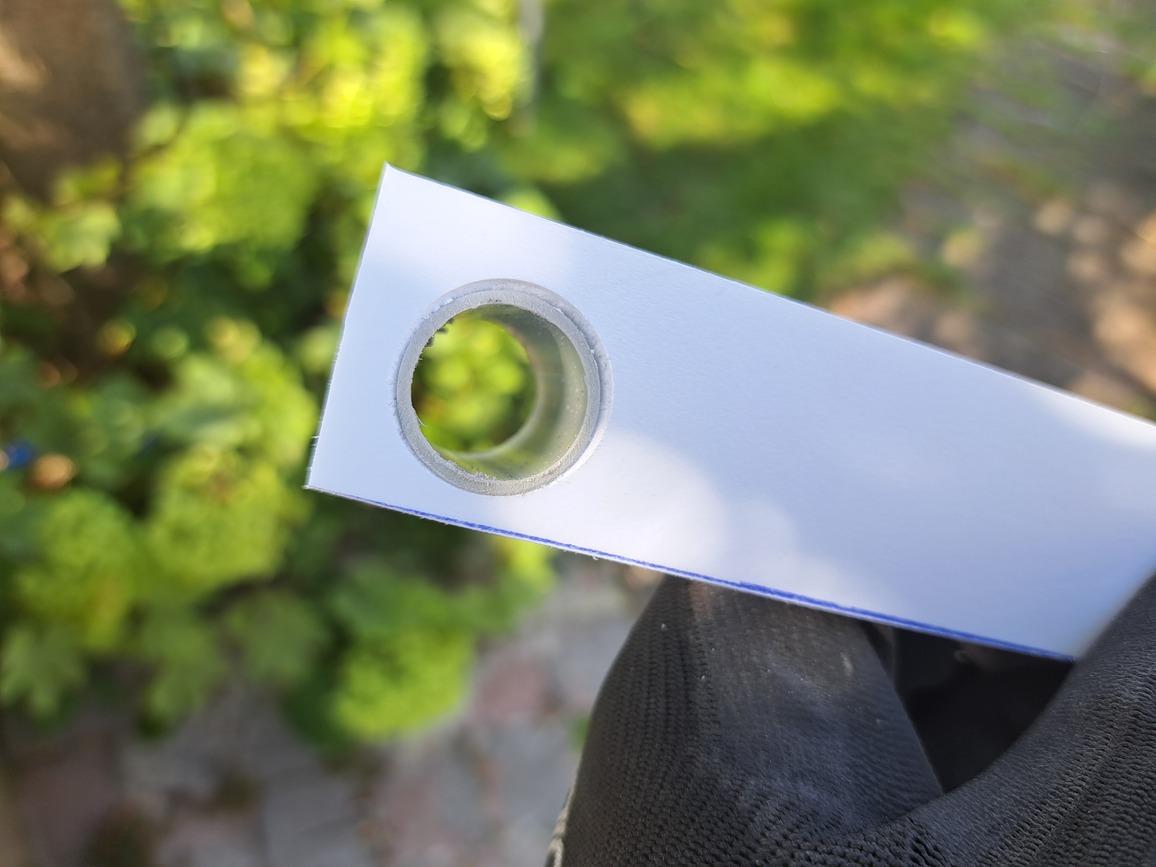
Fitting the runoff pipe
The last parts were glued together. Next the location of the mounting holes was marked, and round spacers cut from scrap were glued onto the mounting holes. This would function as a barrier preventing the water to exit.
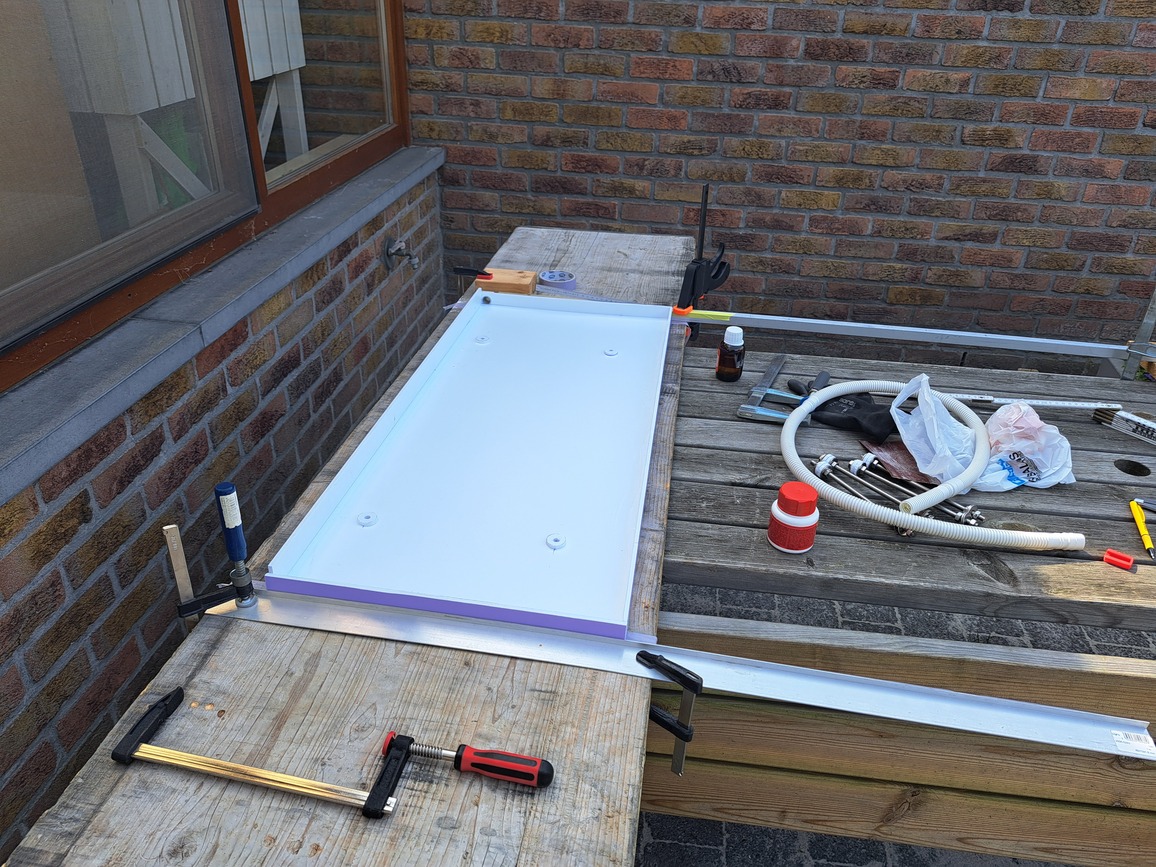
More glueing
I should have offset the hole in two directions, you can see there is a small corner where water can pool. No worries, I had a tube of bathroom silecone already open, so i applied silecone over the inside welds.
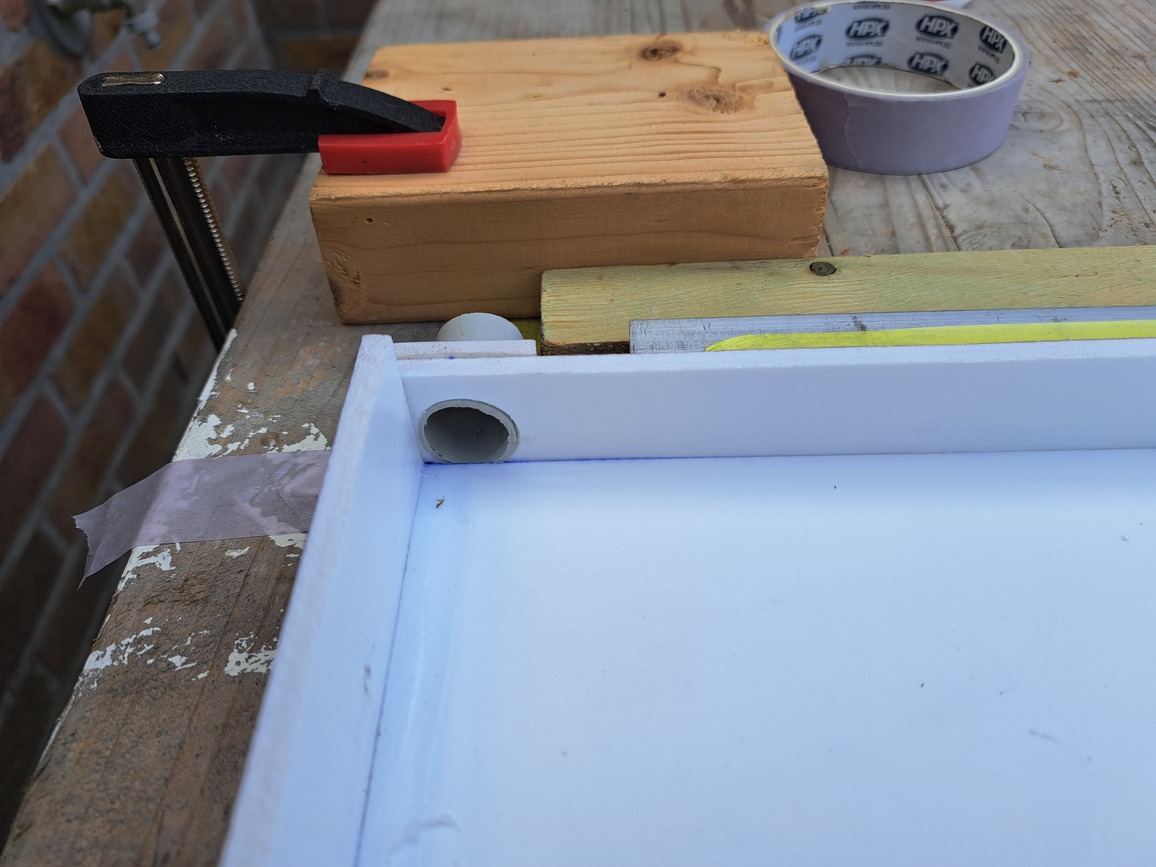
The runoff from the top
You can already see the angle and length differences of the spacer cylinders:

Drip tray seen on its side

The assembly resting on a table
Installation
Finally the tray was mounted and a hole was drilled in the rain pipe, and a piece of airco drain pipe is used to connect the two. When time comes for maintenance, the tube can be easily disconnected to avoid cleaning chemicals flowing to the rain water tank.

A final picture of the tray installed in place

The underside of the unit
Design Files
The cylindrical supports:
// render in higher detail
$fn=200;
lekbak_base_x = 940;
lekbak_base_y = 400;
lekbak_base_z = 10; // actually 5mn but I glued a 5mm washer on mounting spots
lekbak_lowsize_z = 30;

mounthole_left_x = 150;
mounthole_x_interval = 600;
mounthole_right_x = mounthole_x_interval + 190;
mounthole_wall_y_earth = 50;
mounthole_front_y_earth = 250;
z_drop_on_x_size  = 20;
z_drop_on_y_size  = 20;

angle_x = asin(z_drop_on_x_size / lekbak_base_x);
angle_y = asin(z_drop_on_y_size / lekbak_base_y);

// show the values
echo(angle_x);
echo(angle_y);

// the base board under angles
module base()
{
    translate([0,0,15+lekbak_base_z  ])
        translate([lekbak_base_x/2,lekbak_base_y/2,0])
            rotate([angle_y,-angle_x,0])
                cube([ lekbak_base_x, lekbak_base_y, lekbak_base_z],center=true);
}

// for visualisation purposes
module reference()
{
translate([0,0,-1])
    color("green")
        cube([ 1000, 500, 1]);
}

// supports to be cut with the base board
module supports()
{
    union()
    {
        a = [
            [mounthole_right_x, mounthole_wall_y_earth, mounthole_front_y_earth],
            [mounthole_right_x, mounthole_front_y_earth],
            [mounthole_left_x, mounthole_wall_y_earth],
            [mounthole_left_x, mounthole_front_y_earth]
        ];
        for (i=[0:3])
        {
            x = a[i][0];
            y = a[i][1];
            translate([x,y,0])
            {
                difference()
                {
                    cylinder(z_drop_on_x_size+30,d=25);
                    cylinder(100,d=8.2);
                }
            }
        }
    }
}
// cut the base out of the supports
difference()
{
    supports();
    base();
}

if(1) // disable for final render
{
    base();
    reference();
}
Files:
Liked something? Worked on something similar? Let me know what you think on Mastodon!
You can direct-message me, or mention me @thouters@hsnl.social