My Prusa Mk3s and setup
In the summer of 2019, I bought my first 3D printer, a Prusa MK3s. I've been super happy with this sweet toy, it works like a charm.
Let me tell you a bit about my experiences with it...
Before buying the printer
Before I decided to buy a 3D printer, I had already used Ultimaker (1/2/3) printers at Timelab. Timelab is something like a makerspace, located in Gent.
Other than printing downloaded objects from the internet from sites like www.thingiverse.com, I had already made several designs of my own, and produced them on Timelab's printers:
- Raspberry pi touch screen enclosure with LED border
- A plug to fit the end of a coathanger tube
- an enclosure to fit sensors onto my standing desk:
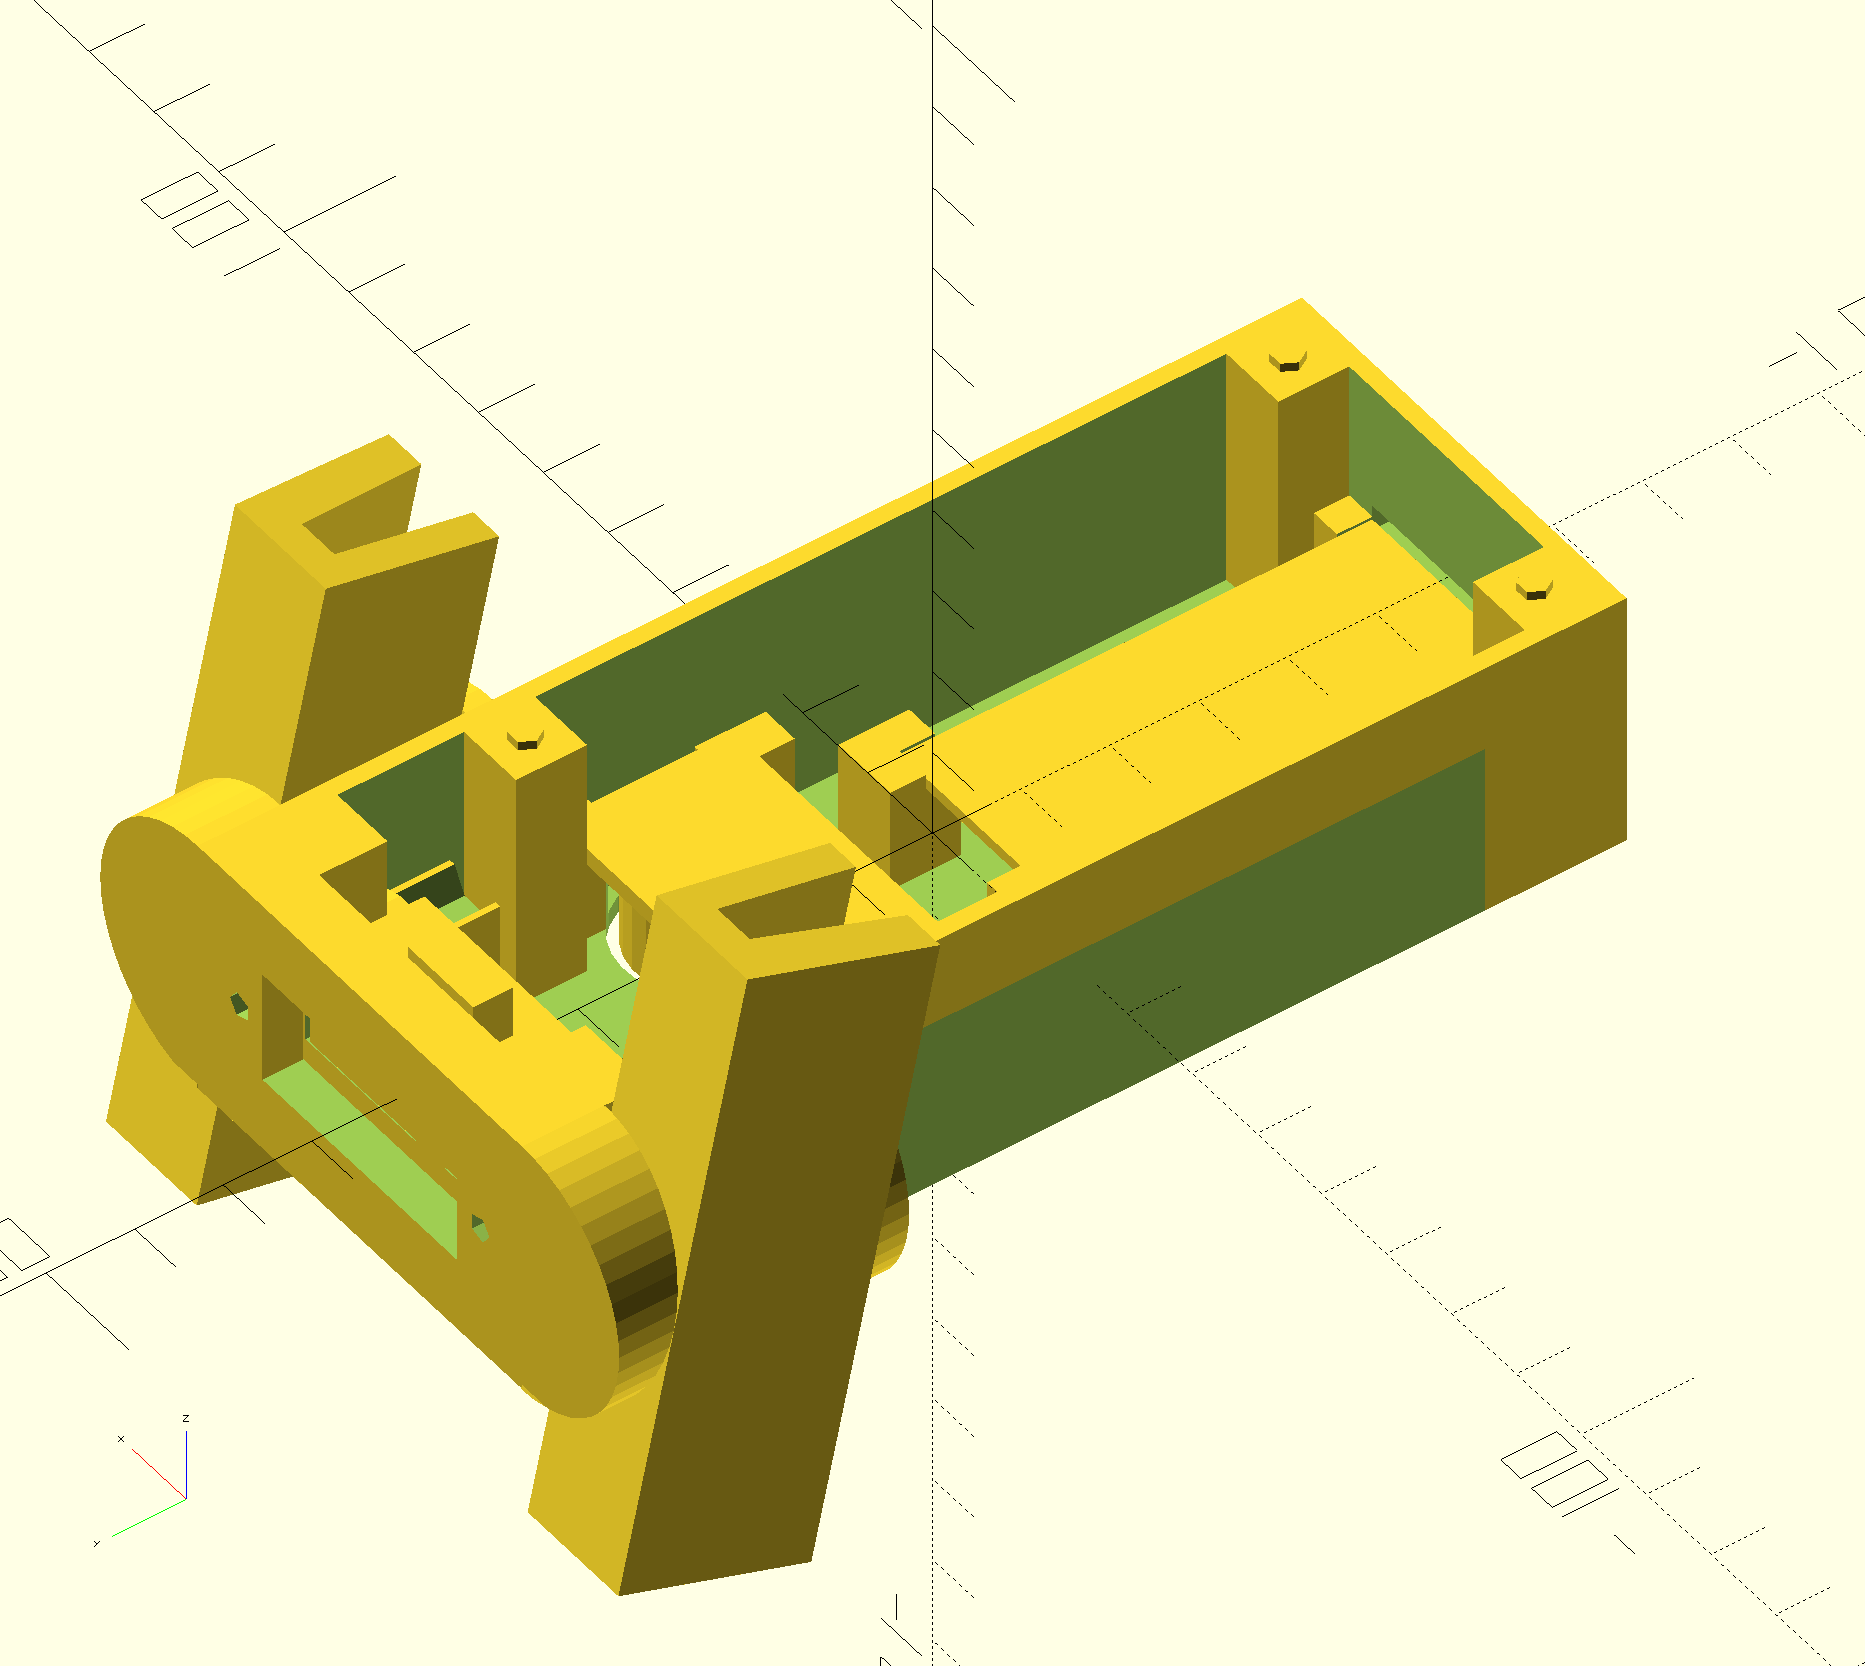
Designing the sensor enclosure was quite a bad experience, I could only start a print about two times a week, and had to collect the results after a night of printing, which I was almost never able do the next day.
The fun thing about 3D printing is being able to iterate your design, play with the object, think about the possibilities, and print, print, print. This was not possible Using the Timelab printers, so after careful consideration, I finally bought a printer (and several filament spools afterwards...)
Getting started with the Prusa Mk3s
Assembling the printer took quite some time, about 8 hours if I recall correctly. I like putting things together like I do tearing things apart, so I had a good time.
My first prints were quite troublesome, I had some difficulties with the prints not sticking to the print bed: it turns out I did the first layer calibration wrong. This caused the prints to come off the printbed during the printing process.
Making things worse, I had turned on the silent mode of the printer to avoid bothering my family with noise during nightly prints. Running the motors in silent mode on the mk3s means that motor jam detection is disabled. The last of those failing prints resulted in a gummed up hotend, which took some time to clean up since it was a big object (the printer lamp).
Once I found out cause of the bed-adhesion issues I was experiencing, the printing experience turned to a trouble free chore, and the MK3s with it's coated sheet metal printbed is way nicer to use than the glass or tape-coated printbed that the Ultimaker's at Timelab have.
Switching filament is easier and faster than the Ultimakers as well, since there is no spool holder at the back, and no fiddling with the extruder motor.
Mods and tweaks
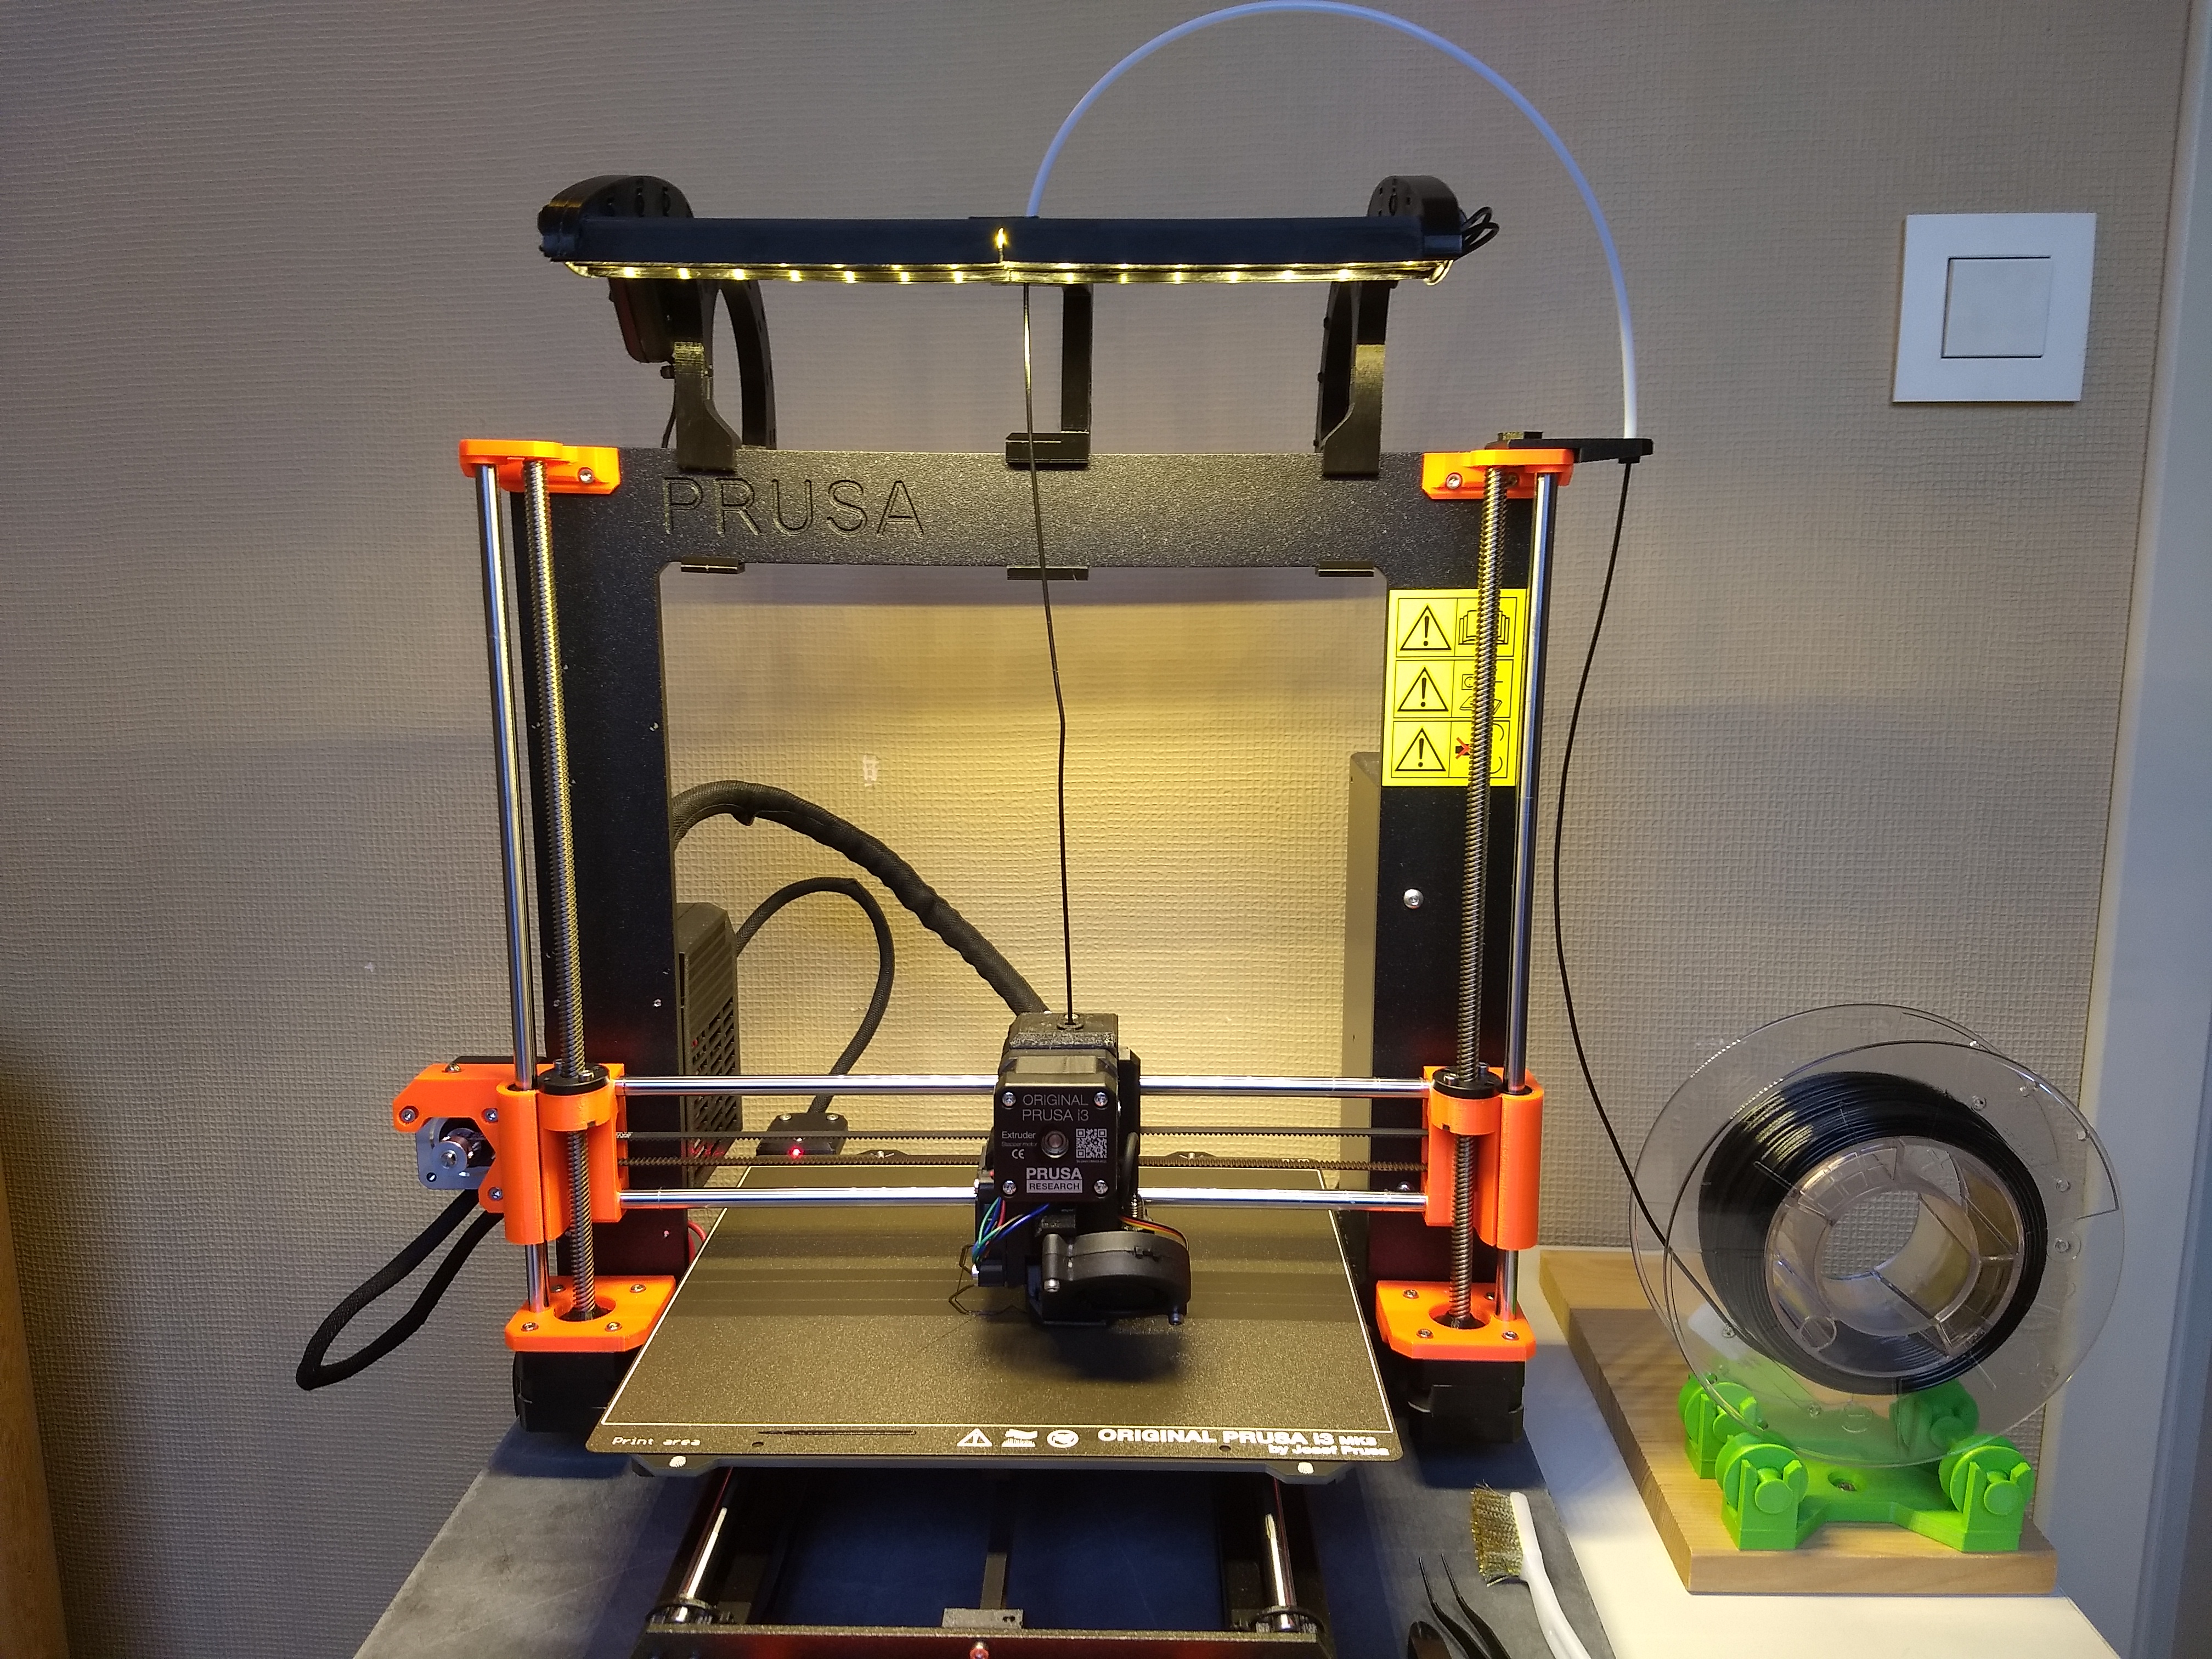
The printing room is located in our attic, which has bad lighting, and can be cold during the winter. I found a nice printable LED fixture on the prusaprinters community site that can be put onto the printer's top, which is great for nightly visits to check on the printing process.
Having this light fixture on the printer together with the provided spool holder is not practical, so I decided to find a better way to put the filament holder. Other printers than the Prusa Mk3s push the filament through a 'bowden' tube towards the printing hot-end. I found some parts on thingiverse that can be used to fit a piece of tube on top of the printer, so I could place the spool next to the printer. This is nice for a different reason too: not having the spool on top of the printer makes the setup less tall, allowing a lack style enclosure to fit over it.
I ended up using parts from two different thingiverse pages, I used a bowden mount on top of the printer from one design, and an object that fixes the bowden tube to the side of the printer from another.
I bought a bowden tube with 1.75 inner diameter and 3mm outer diameter on AliExpress, but read in an update later that a tube for 2.85mm is better since it causes less friction.
To put the filament spool next to the printer, I printed an adjustable spool holder that I screwed onto a piece of wood. I think it's not quite perfect, it takes some grease for the wheels to roll smoothly so I will probably switch to something with real ball bearings in the future. For now at least it works fine with the different size filament spools that I have.
I bought a slab of blue hardstone ('Arduin') from the home improvement stone and attached pieces of felt to the underside. The printer sits on top of this, and it seems to successfully act as a dampner, and reduces the noise a bit.
Filament management
Filament printers only print one color at a time. You can overcome this a bit by switching to different filaments during the printing process but you can only produce objects with different colored layers this way, like I did with the housenumber sign I created. If you have a printer which can switch filaments automatically, like the Mk3s with an MMU upgrade, you can even have different colors in the same layer. Unfortunately, this means that if you want to get a bit creative, you need to buy filament spools of different colors to create objects that don't look outright misplaced.
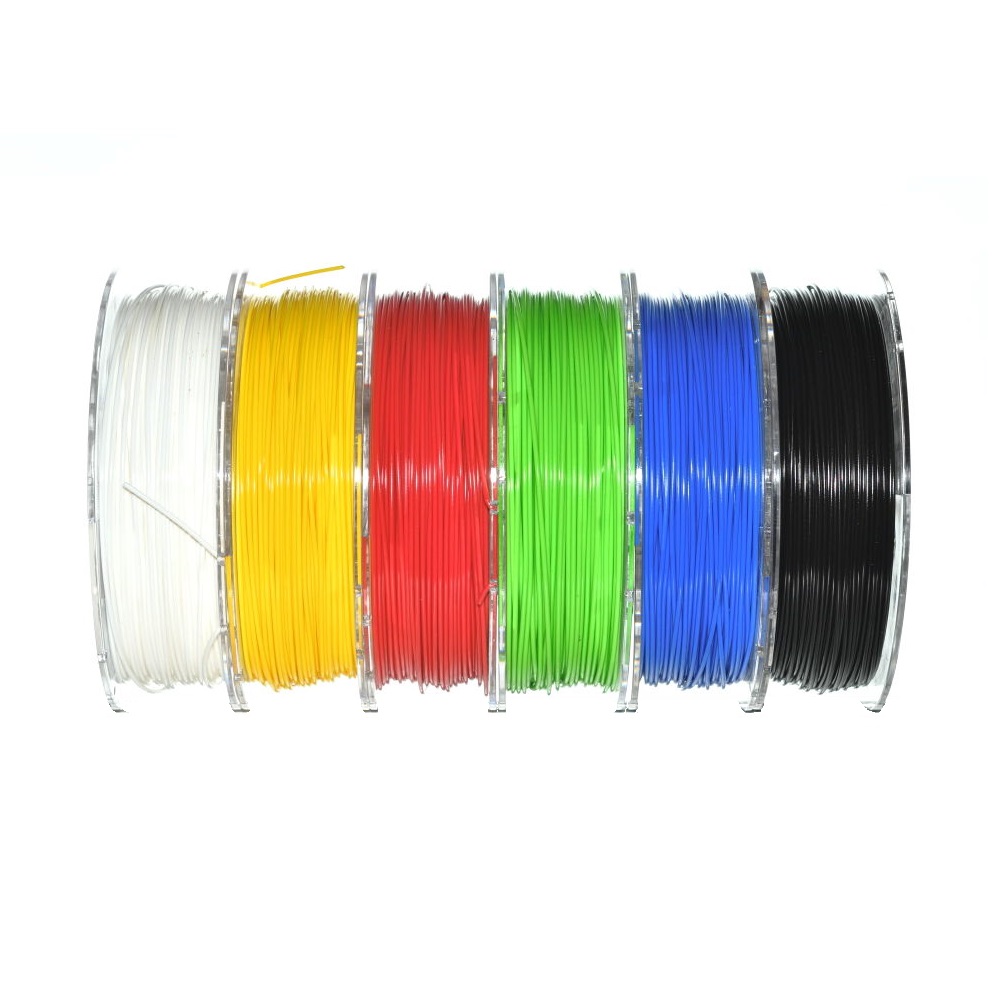
I found the Devildesign filament starterpacks to be a good investment to obtain several basic colors without spending too much money. It features 6 spools of 300gr.
Some filaments (like flexible filaments and PETG) absorb water from the air and get harder to print after time. To avoid this, I bought a waterproof box that I use to store my filament spools:

Another thing to be careful about is not to release the tension on the filament spool, this can result in two turns of filament getting swapped, creating a knot on the spool. If your filament gets tied up on the spool, Your print can fail. All filament spools have holes at the edges. Those holes can be used to fix the filament. But if you stacking filament spools on top of each other (like I do in my storage box) a piece of filament sticking out is annoying and dangerous (it could come loose). I found that using the filament clip named the swiss filament clip on thingiverse, together with having the spool sit next to the printer makes life easier.
At Timelab I only used PLA filament, so I was a bit hesitant to try a different type of plastic named PETG. PETG has to be printed at a slightly higher temperature, but can withstand higher temperatures after printing. I bought the devildesign PETG starterpack, and found out that the main disadvantage of PETG, which is sort of a spider web on your print, is quickly fixed by a heatgun and an exacto knife.
I printed a different colored set of swiss filament clips that I use with the PETG filaments. By using a different colored clip for PLA than I use for PETG, I hope to have a practical reminder that the filament has different properties, and I won't use PETG in a lower-temperature PLA print.
Design to production
Design
I tried learning FreeCad by reading a bit on the web and watching some YouTube video's (I even made a 2d design of a front panel with LCD cutout and buttons with it). I'm a computer programmer, though, and I found OpenSCad too easy to use, so I keep on using it.
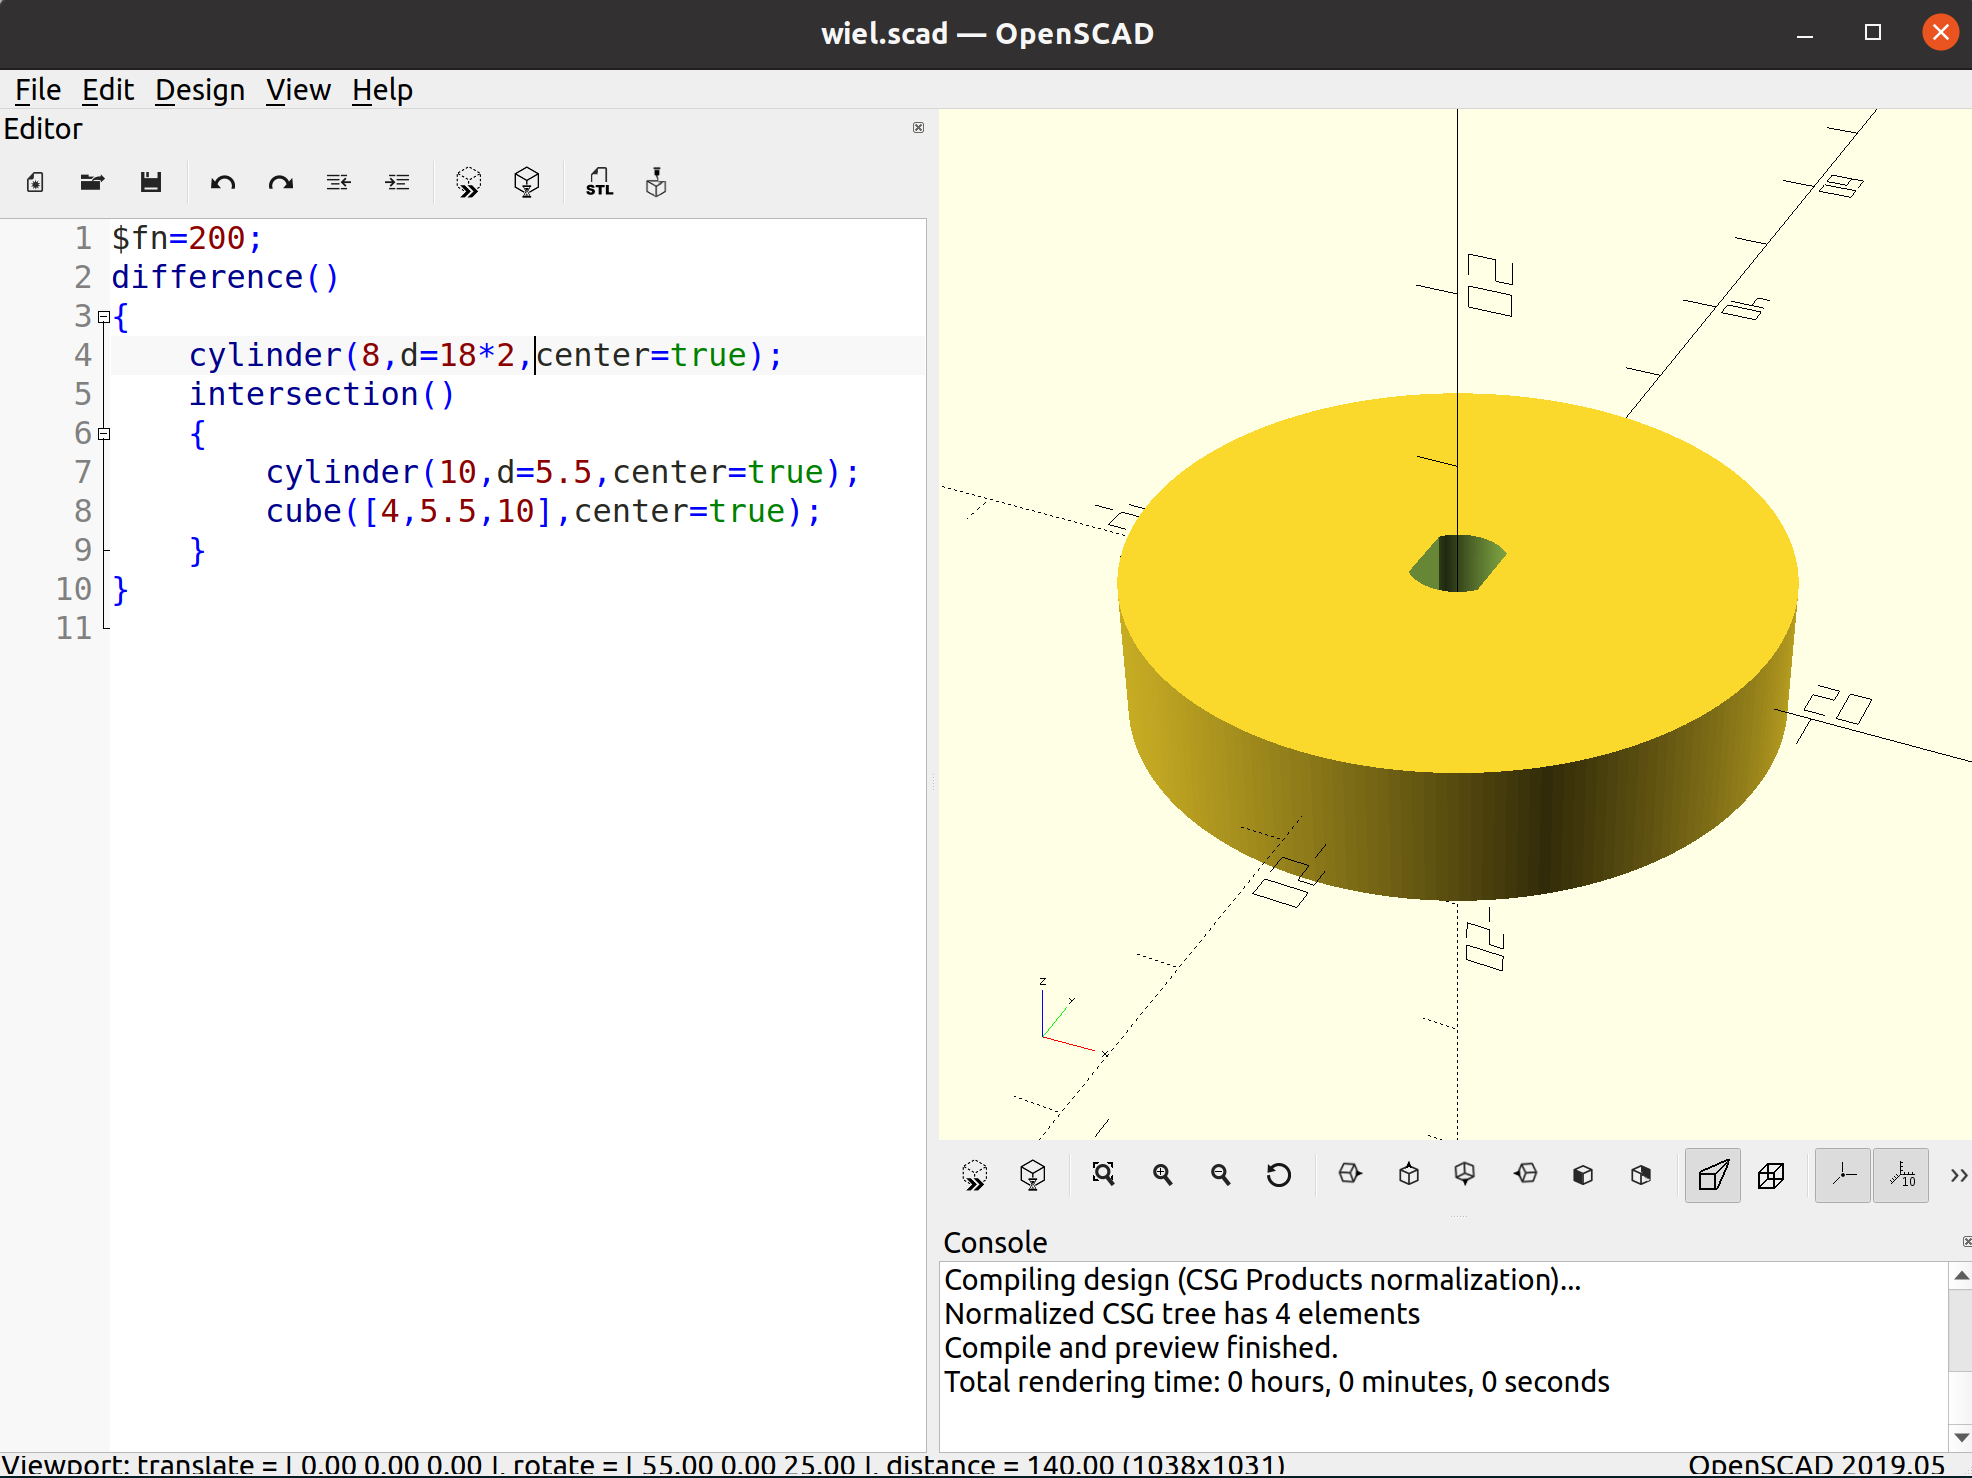
Designing parts with OpenSCad means describing them with a list of transformations on basic shapes, in a text file, much like a computer program.
Slicing
To produce a 3D object on a filament 3D printer, the 3D shape needs to be converted to robotic movements that the printer makes when creating layers of plastic. A slicer is a piece of software that will do this, and you can configure it in many ways.
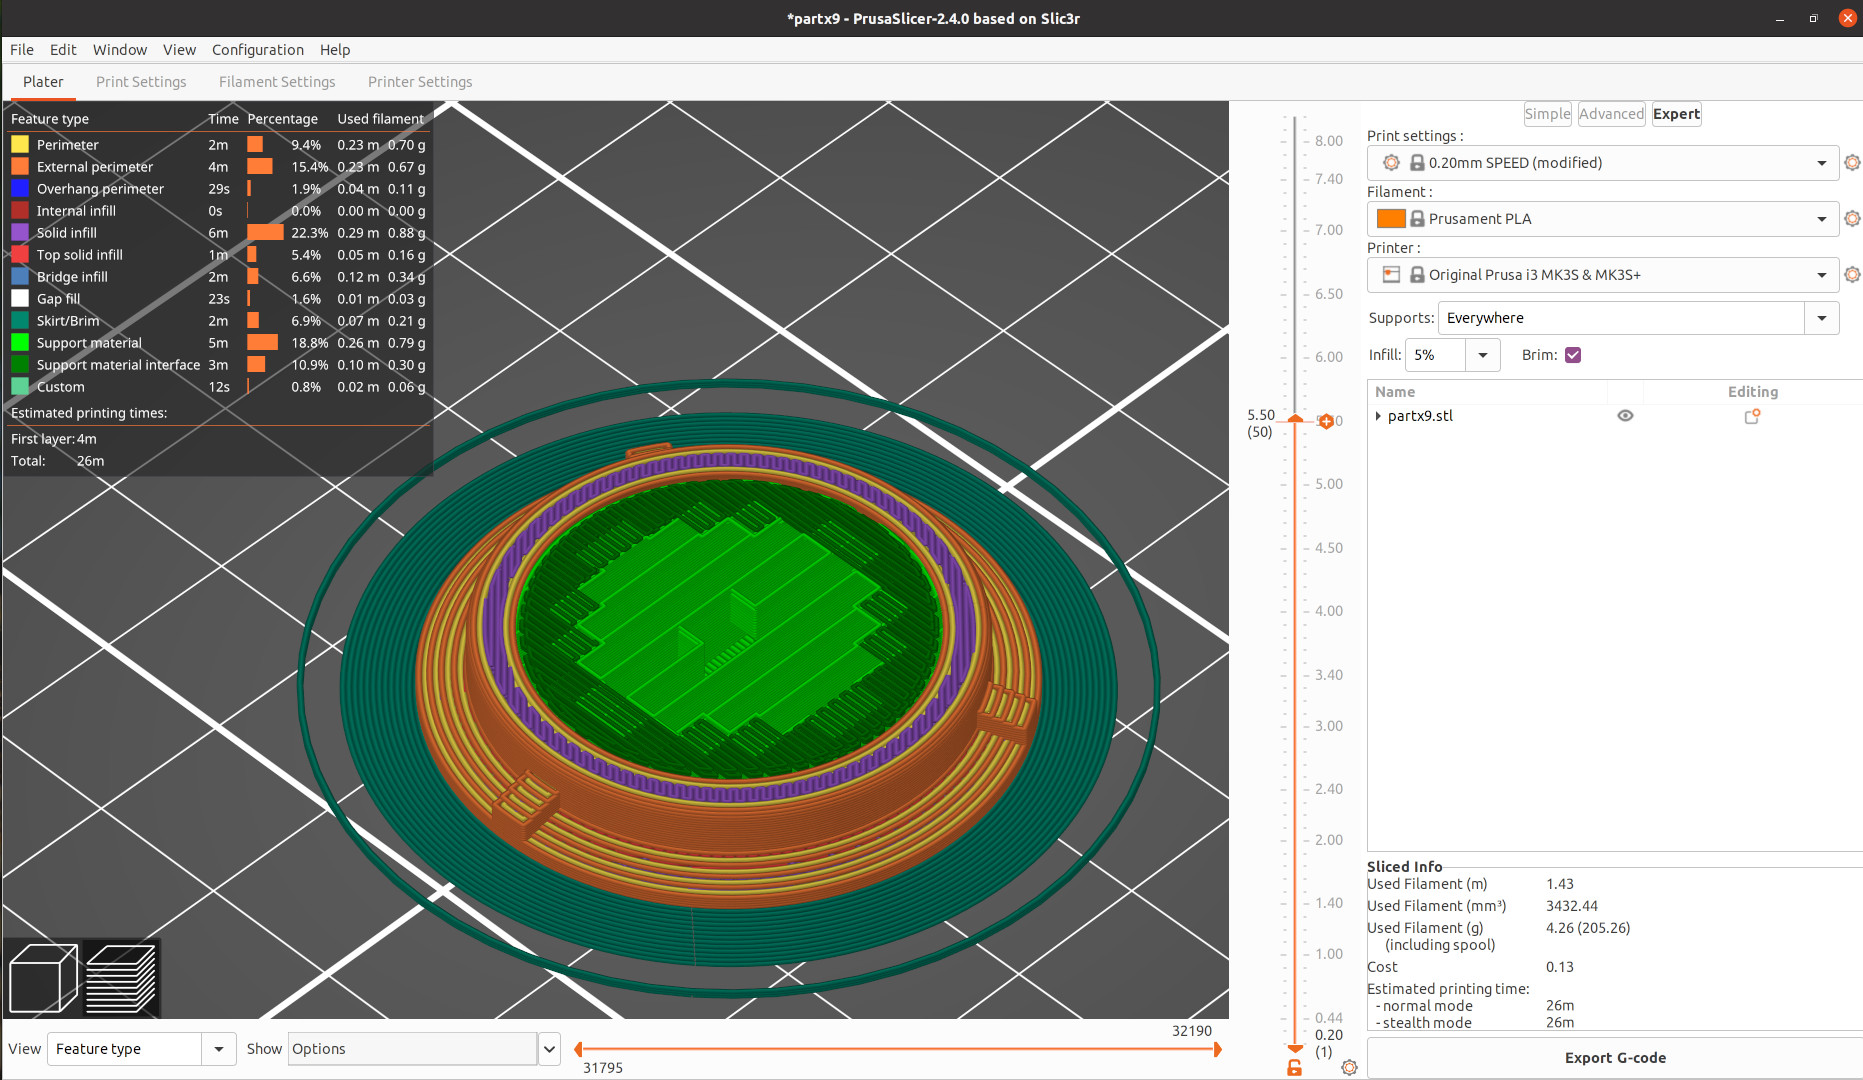
Most of the time, that sounds simpler than it ends up being, and there are many considerations to be made that impact the mechanical properties of the object you will end up picking up from the build platform.
This is a short non-conclusive list of things you need to consider when preparing an object for 3D printing:
- Overhangs: a printer can not deposit plastic in mid-air and expect it to float, if you build a bridge, the slicer must add a support structure that you can break off afterwards.
- Shrinking: some filaments will shrink and warp at the edges when printing. (a brim can sometimes help with that).
- Infill: To make an object stronger, pouring more plastic in to it may feel like a good idea, but just adding a thicker outer shell is a better solution (use the perimeters setting)
Printing
The slicer generates a '.gcode' file. In my case, the Prusa Mk3s has a SD-card slot. The file has to be saved to a SD-card, inserted into the printer and selected on the printer's display.
Then, I need to be sure that the hotend is clean, and not dirty with filament that was dripping before the hotend starts laying down the first layer.
Conclusion
Owning and operating a Filament 3D printer is a fun thing to do, with a funny learning curve. It takes some time to learn and to get productive with. For me at least, it's a perfect toy and a good investment.
Printing things for people
If you want to estimate the real cost of the printed object, this spreadsheet is very useful: https://github.com/CNCKitchen/3D-Printing-costs
Liked something? Worked on something similar? Let me know what you think on Mastodon!
You can direct-message me, or mention me @thouters@hsnl.social